Adding a Stage
Seed supports both branch based workflow and pull request based workflow. With branch based workflow, Seed allows you to deploy individual Git branches to different stages.
Create a new branch.
$ git checkout -b new-branch
Push the branch to remote.
$ git push -u origin new-branch
Go to Seed console, navigate to your project and select Create a Stage.

Select a branch (for example, new-branch) from the drop down, give it a Stage Name, and select Create Stage. A default stage name is pre-filled based on the branch name, you can select a different name.
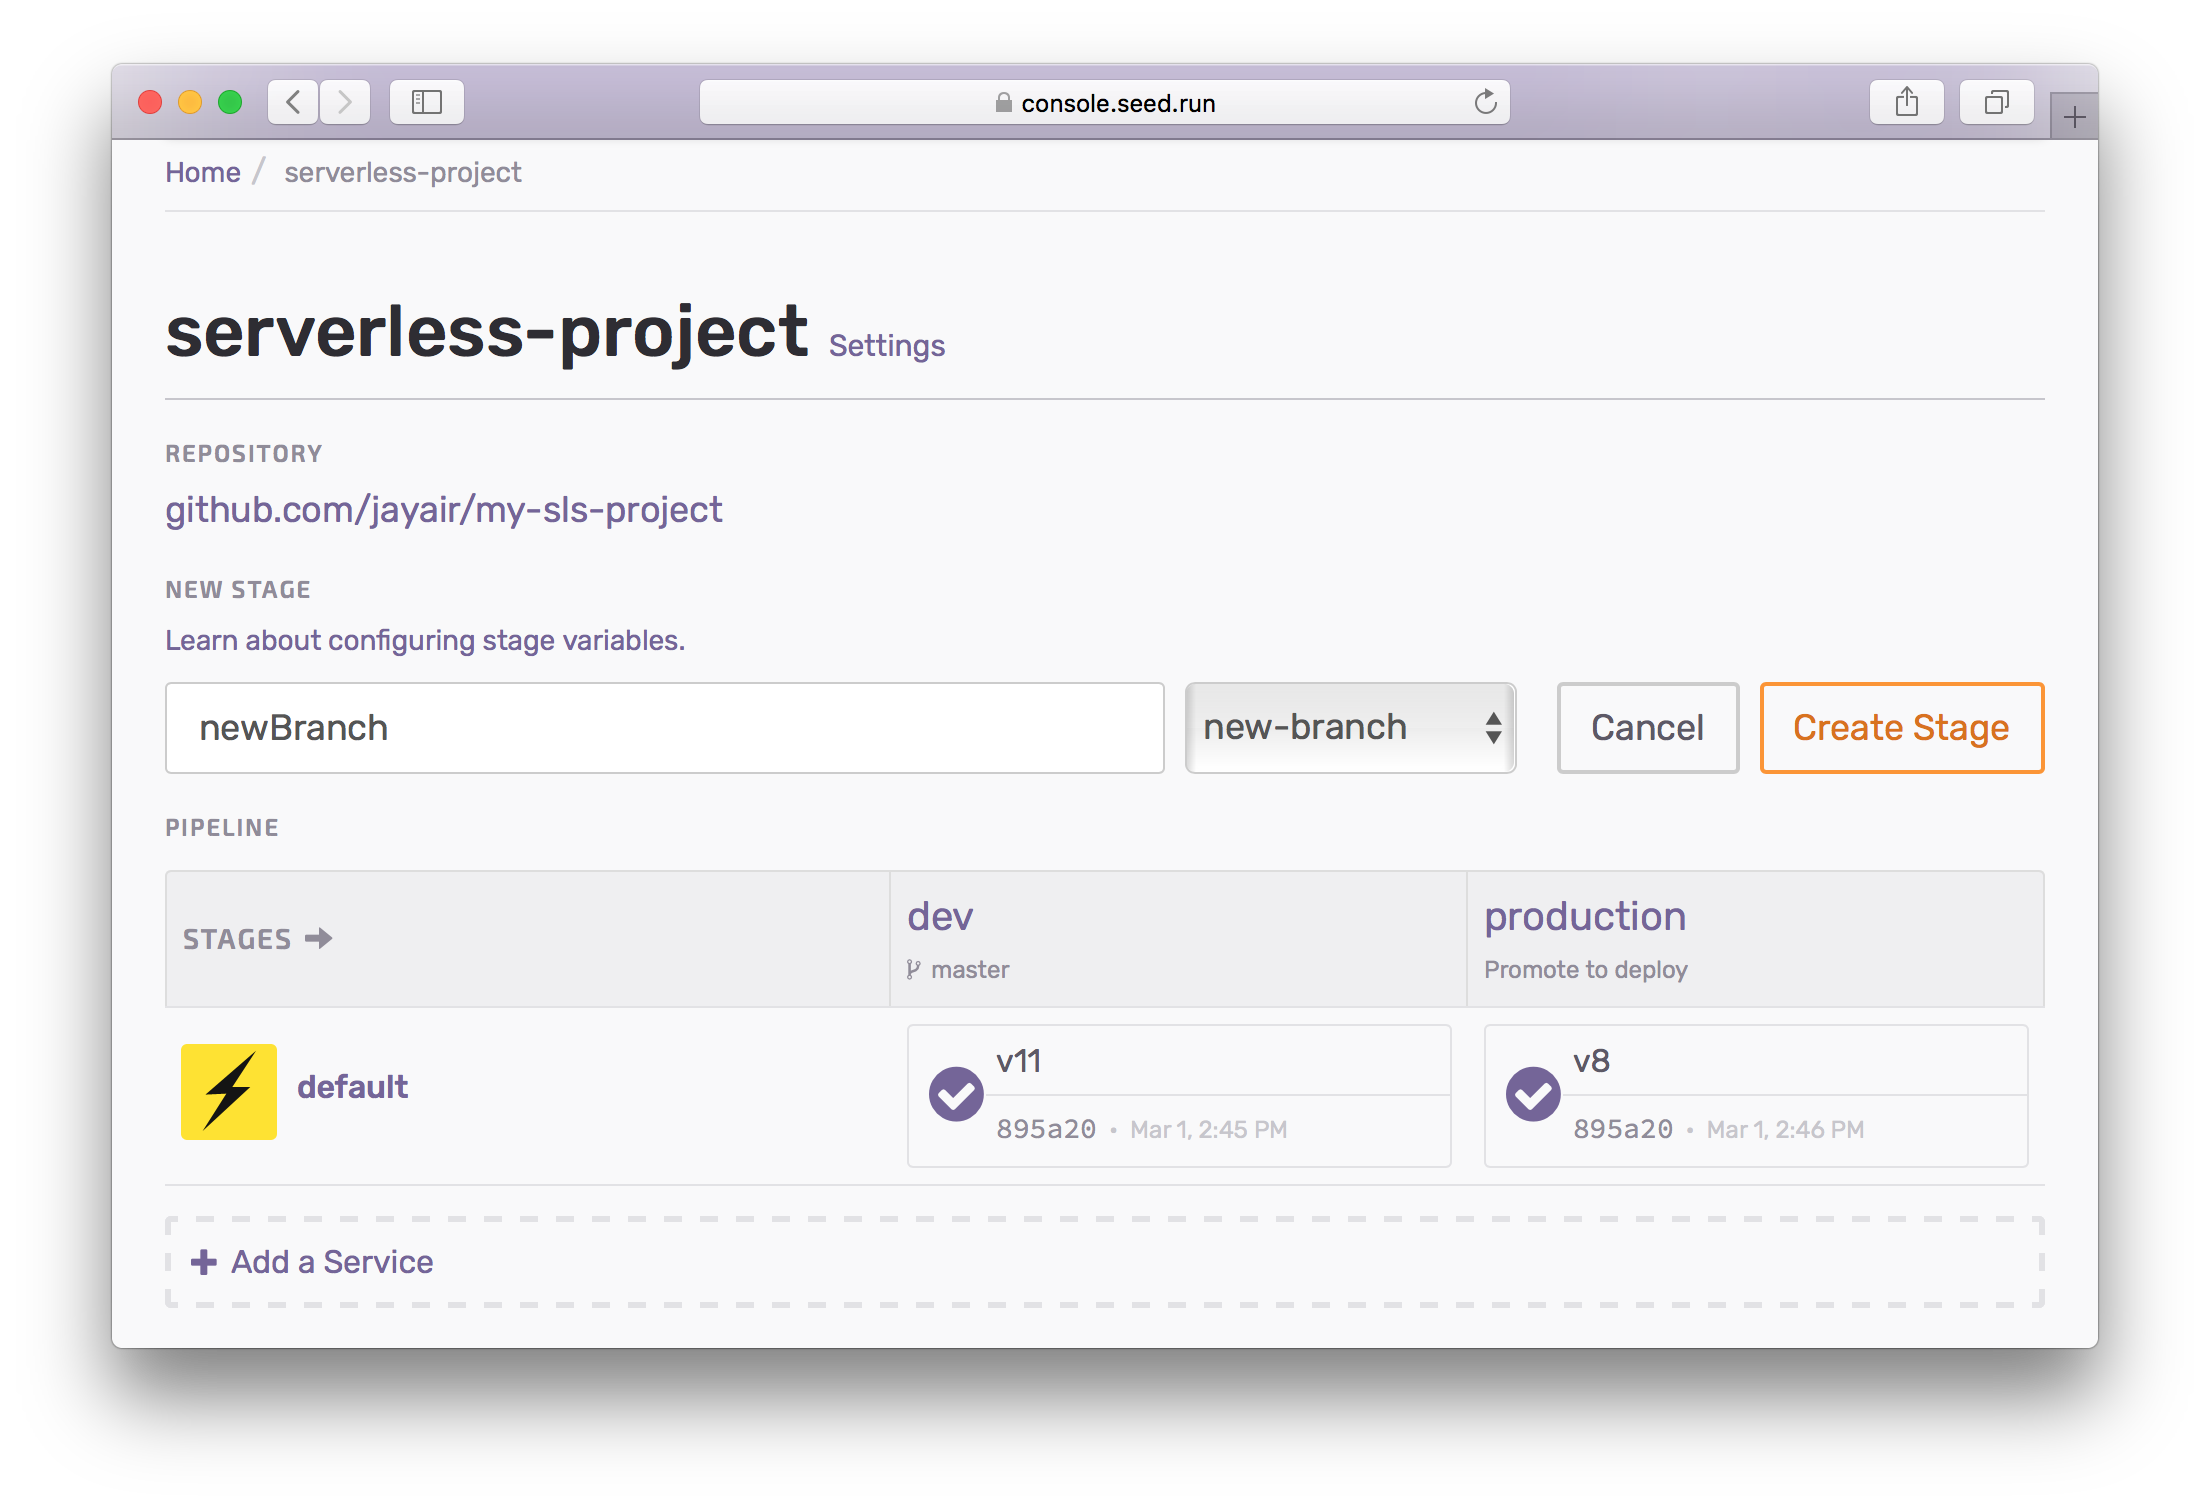
The stage name is used internally while deploying the project via serverless deploy --stage STAGE_NAME. The stage name is also used to configure stage variables.
Once a stage is created, it is available across all the services in the app.
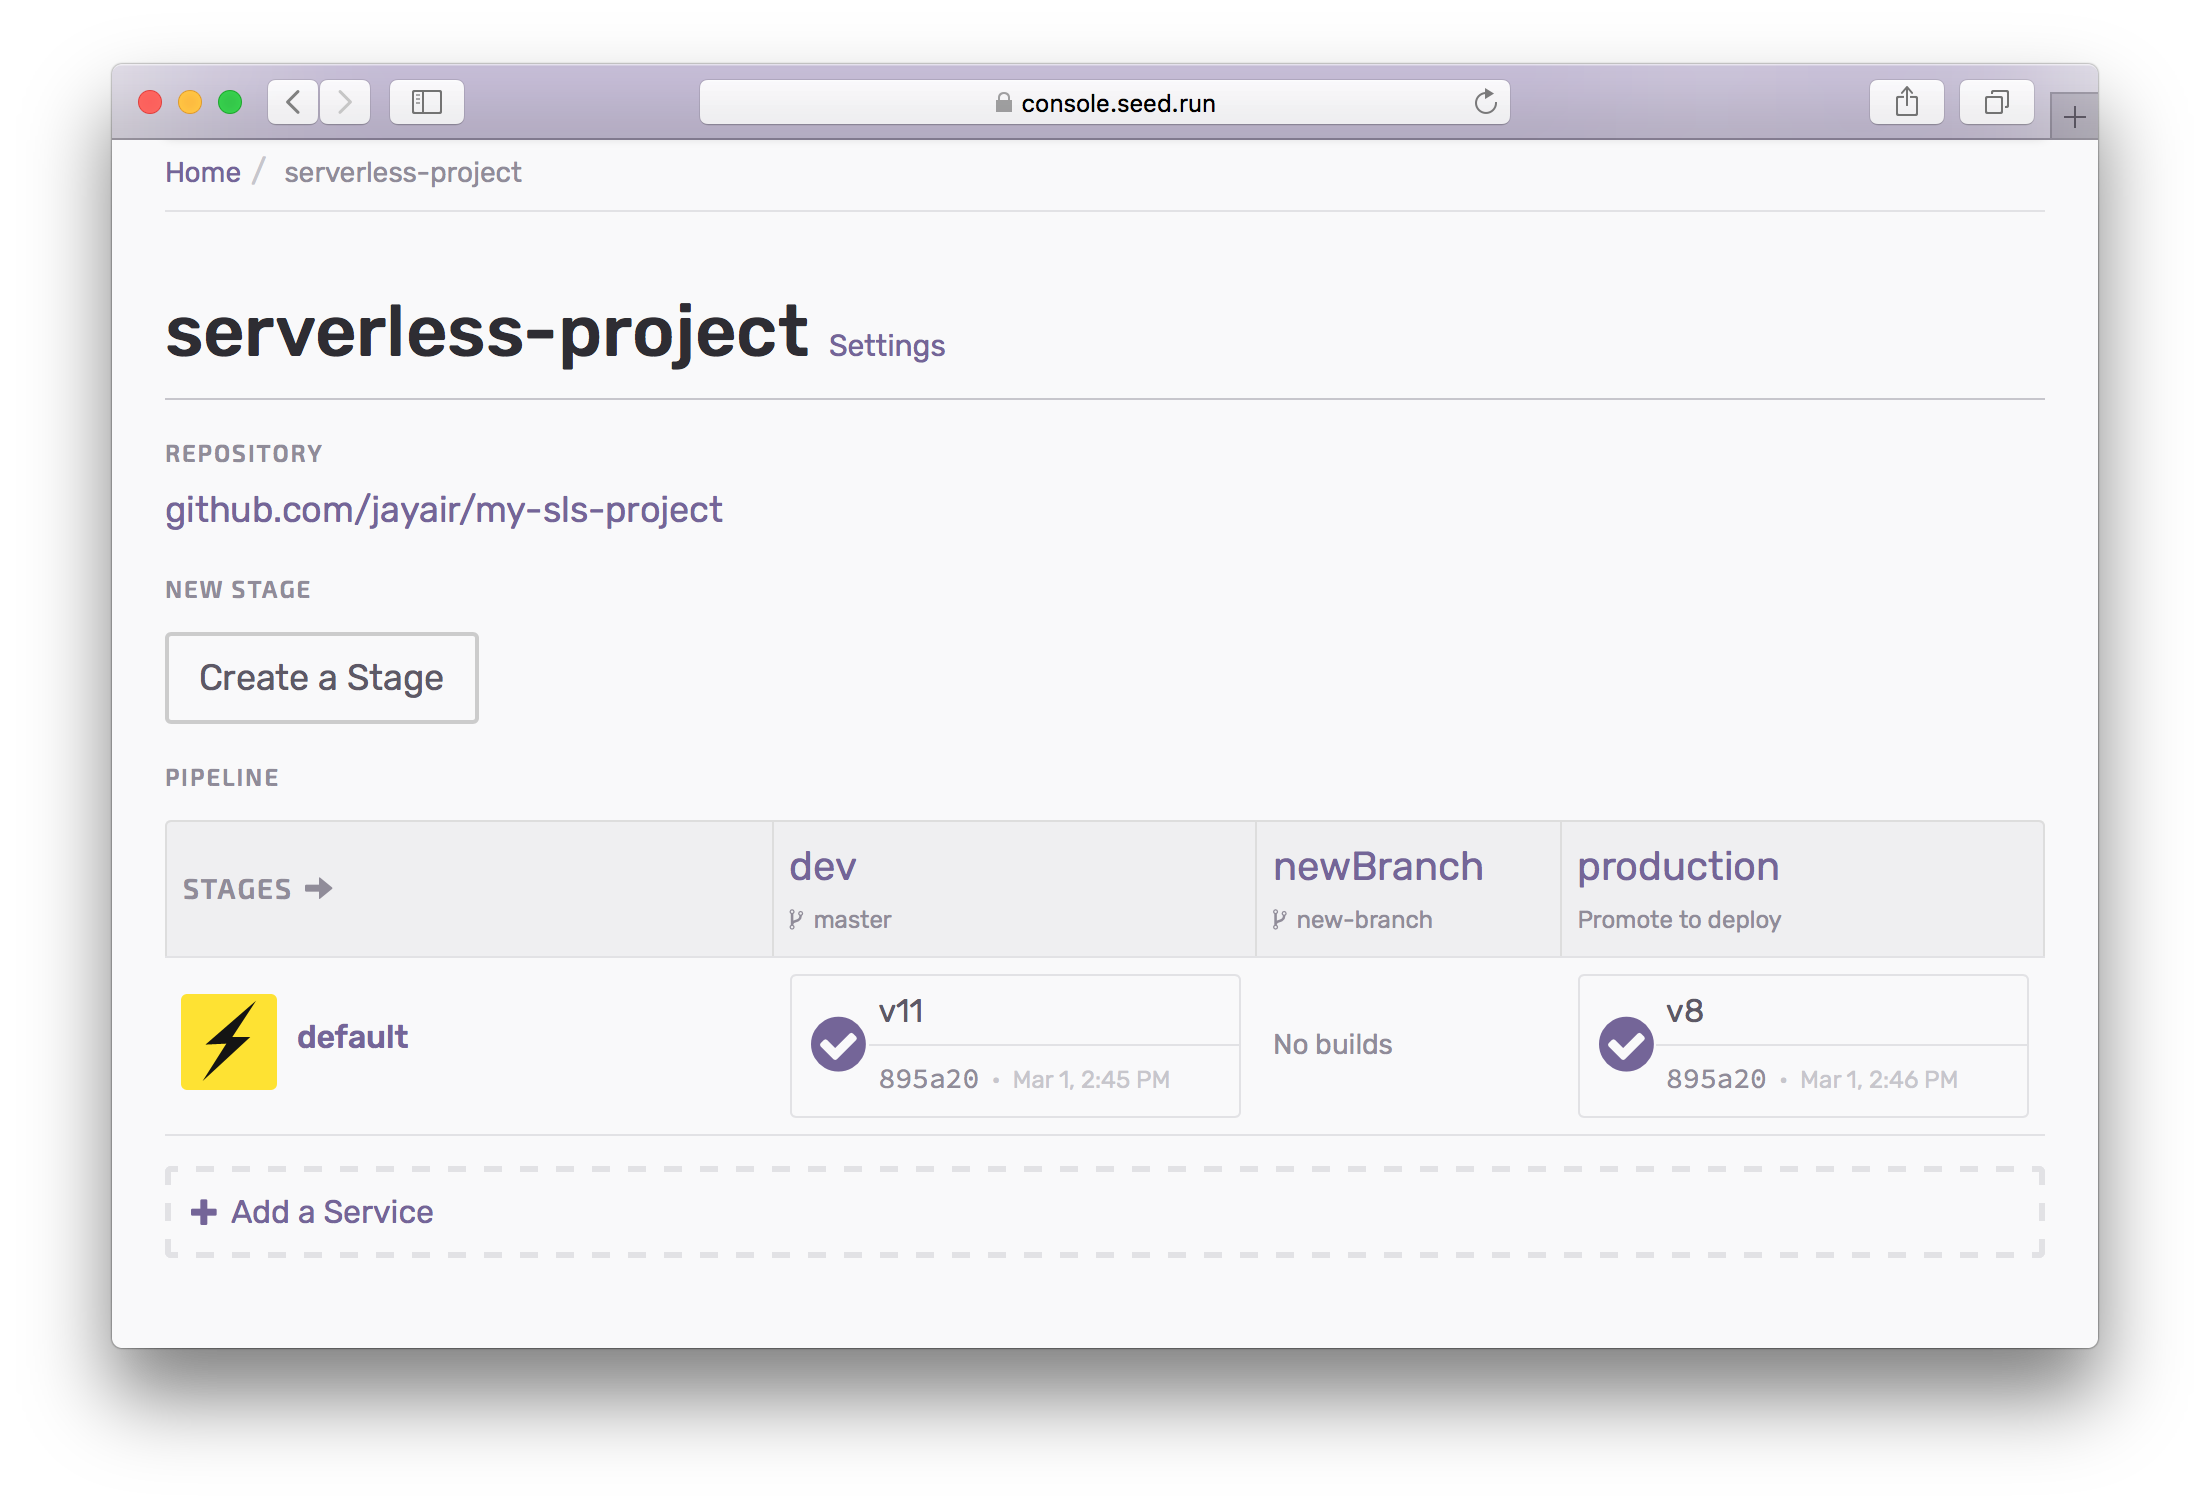
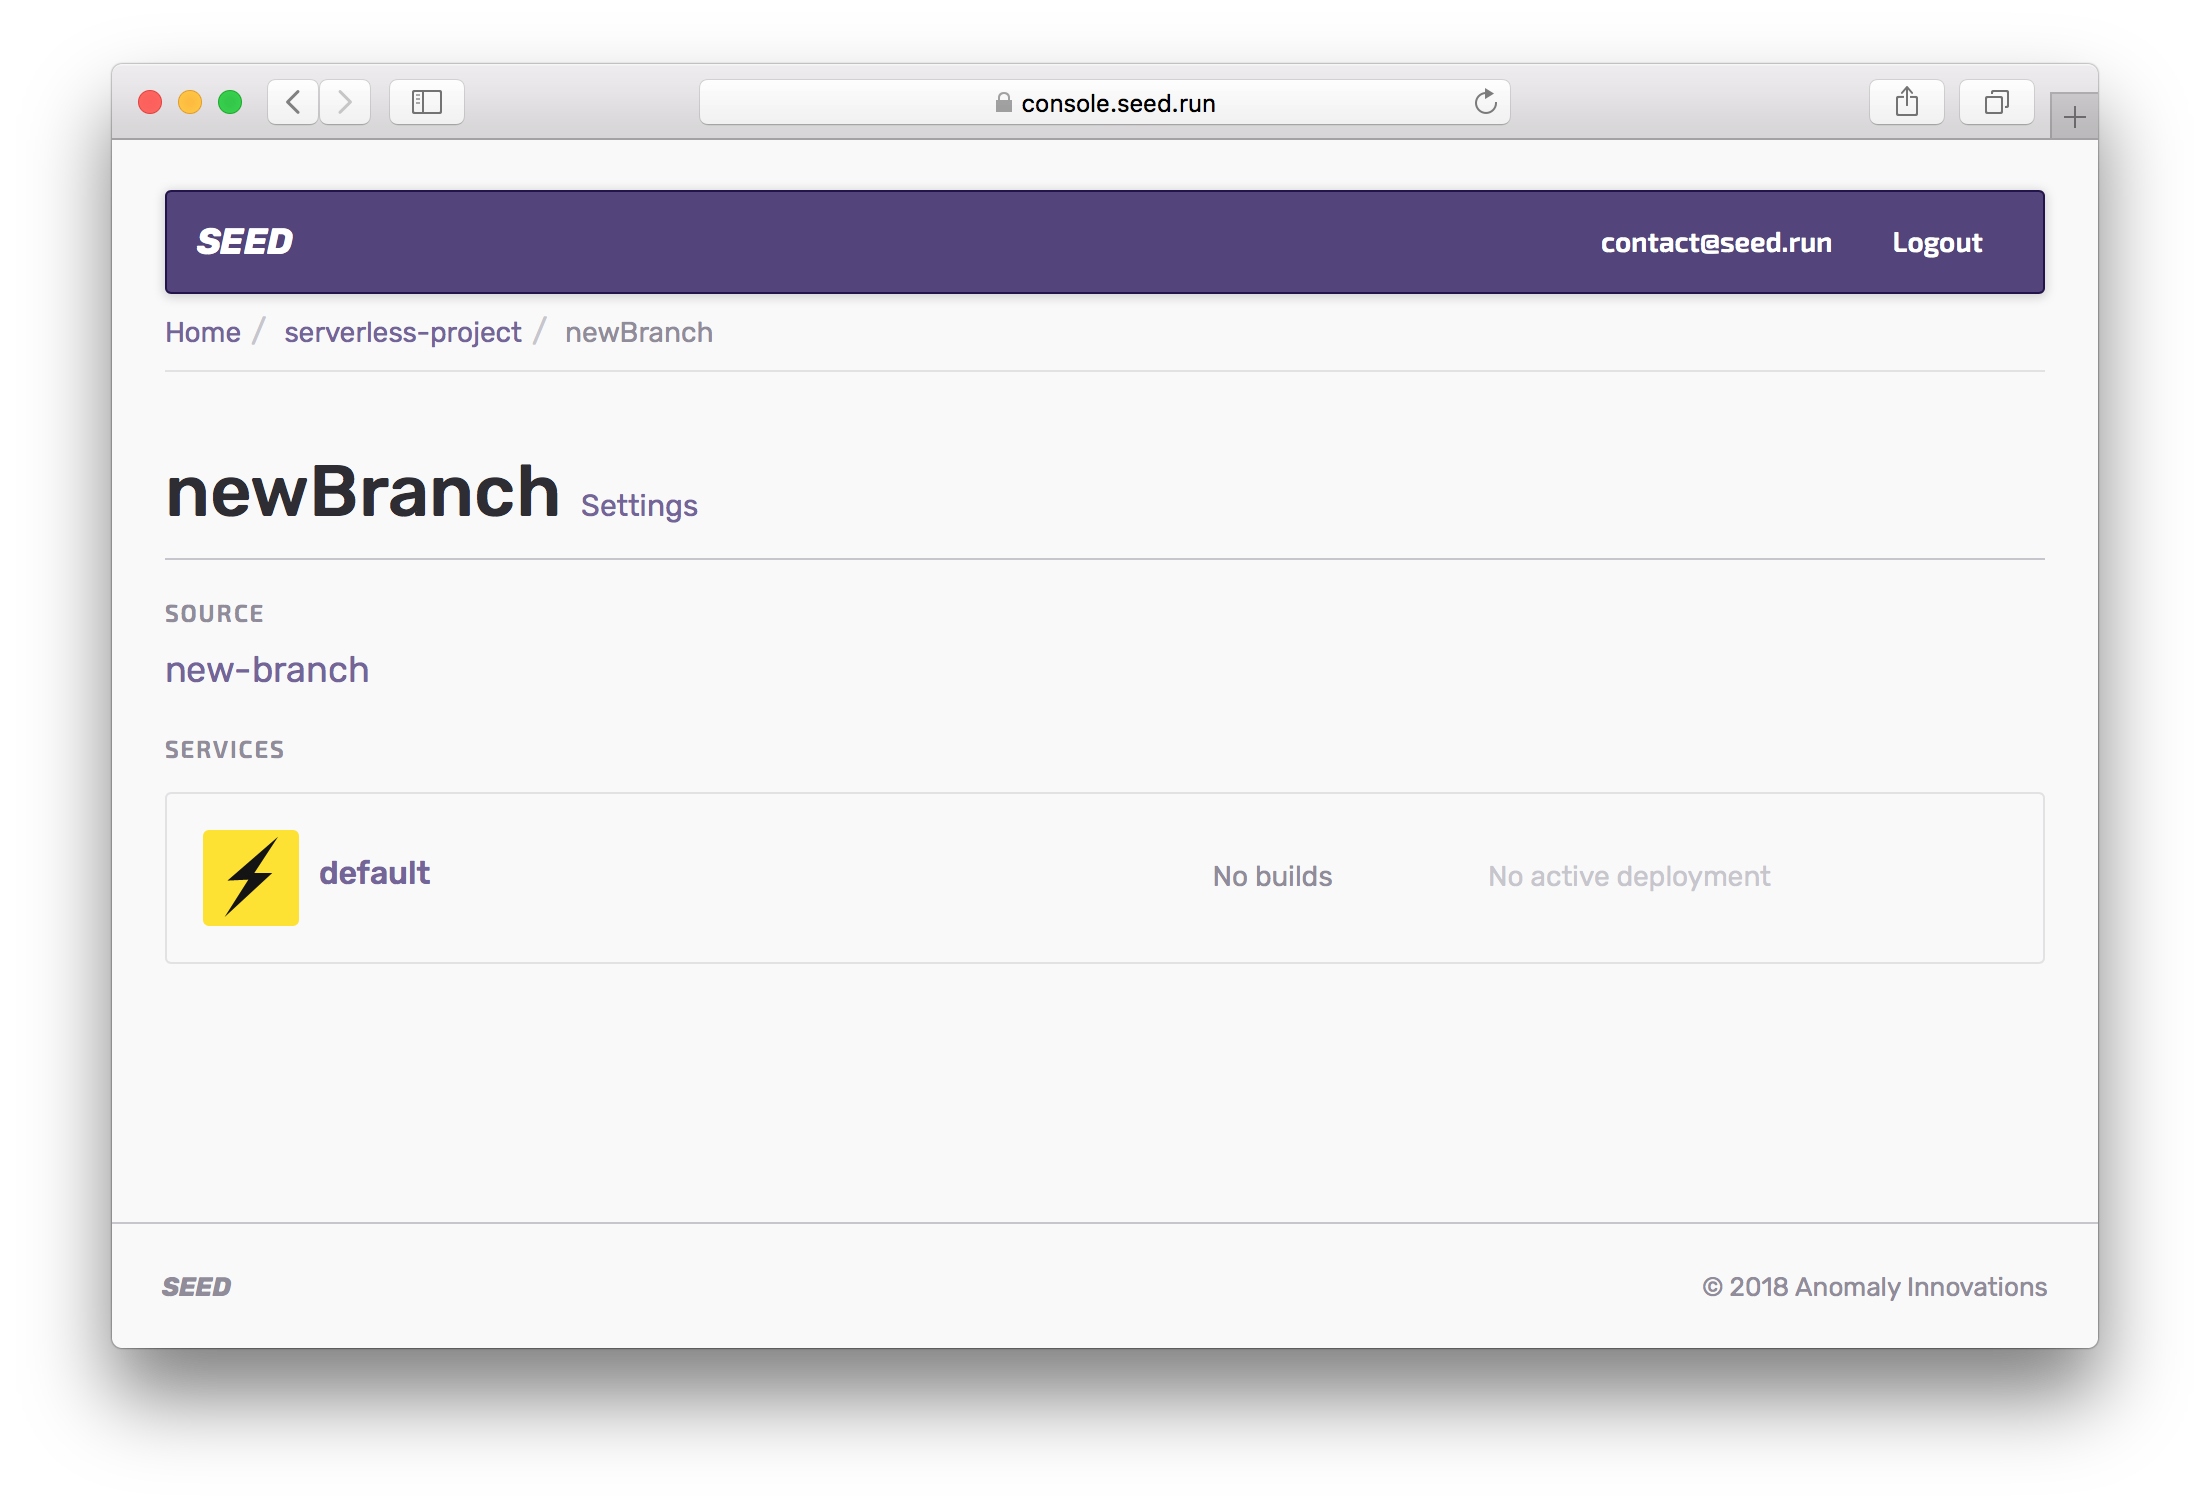
You can now click on the stage to take a look at the services deployed in this stage.
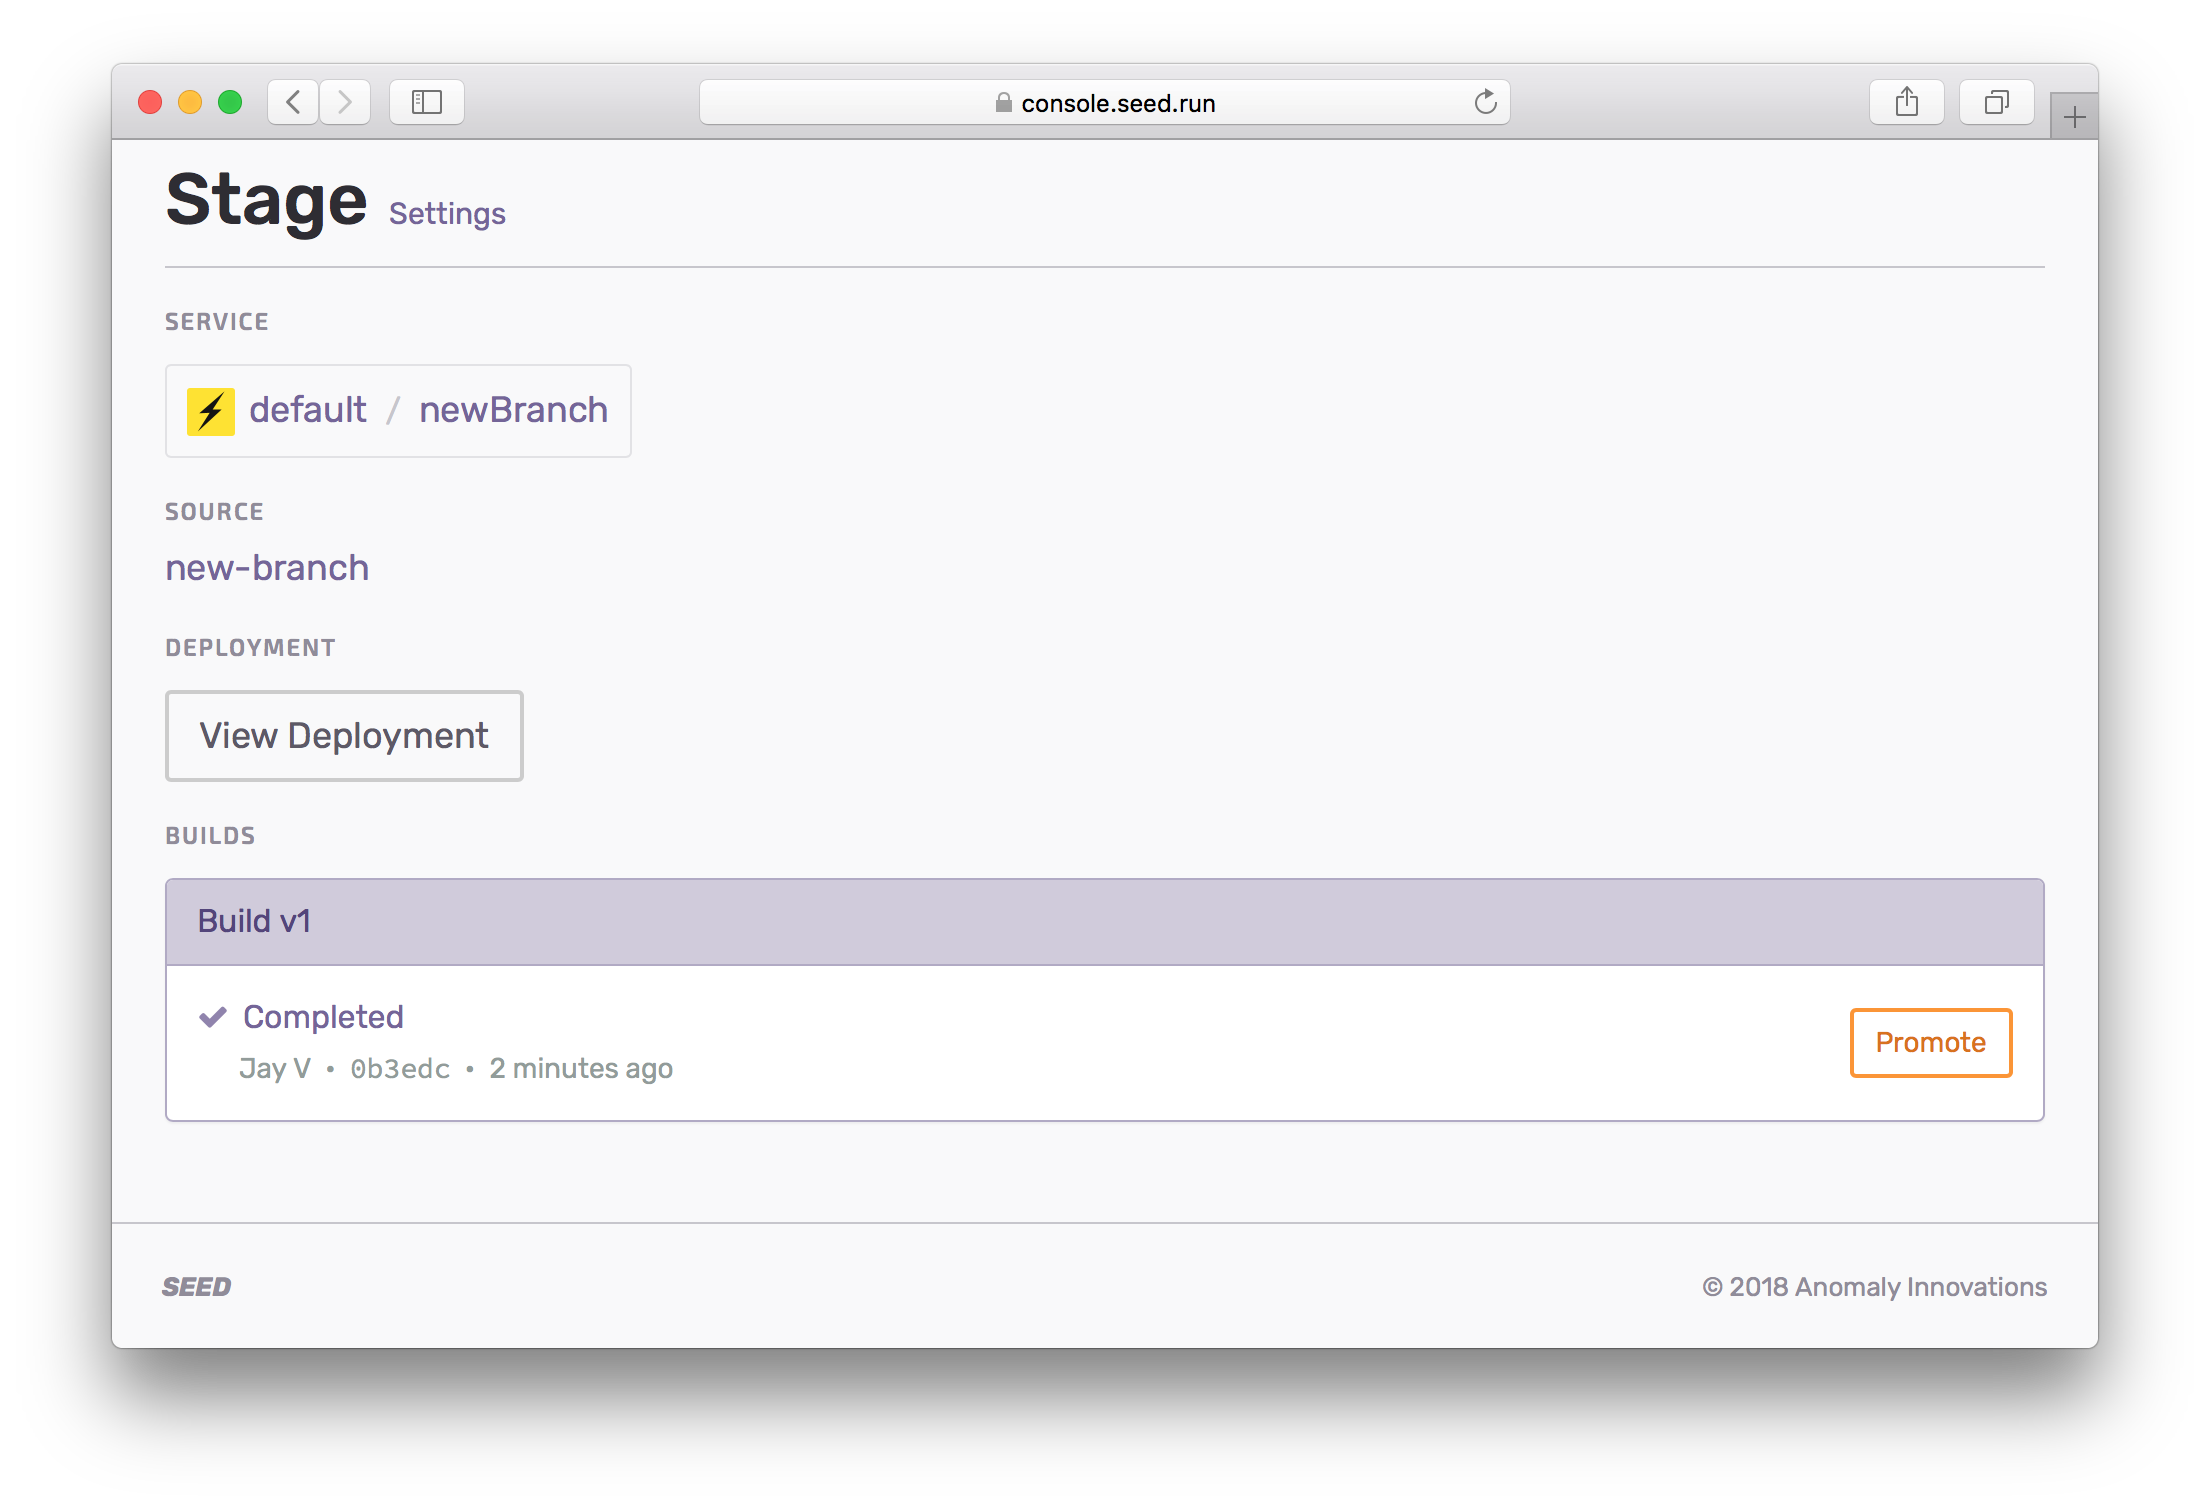
And for that service, you create your first build for the stage by either hitting Trigger Deploy or by pushing a commit to the branch that is linked to the stage.
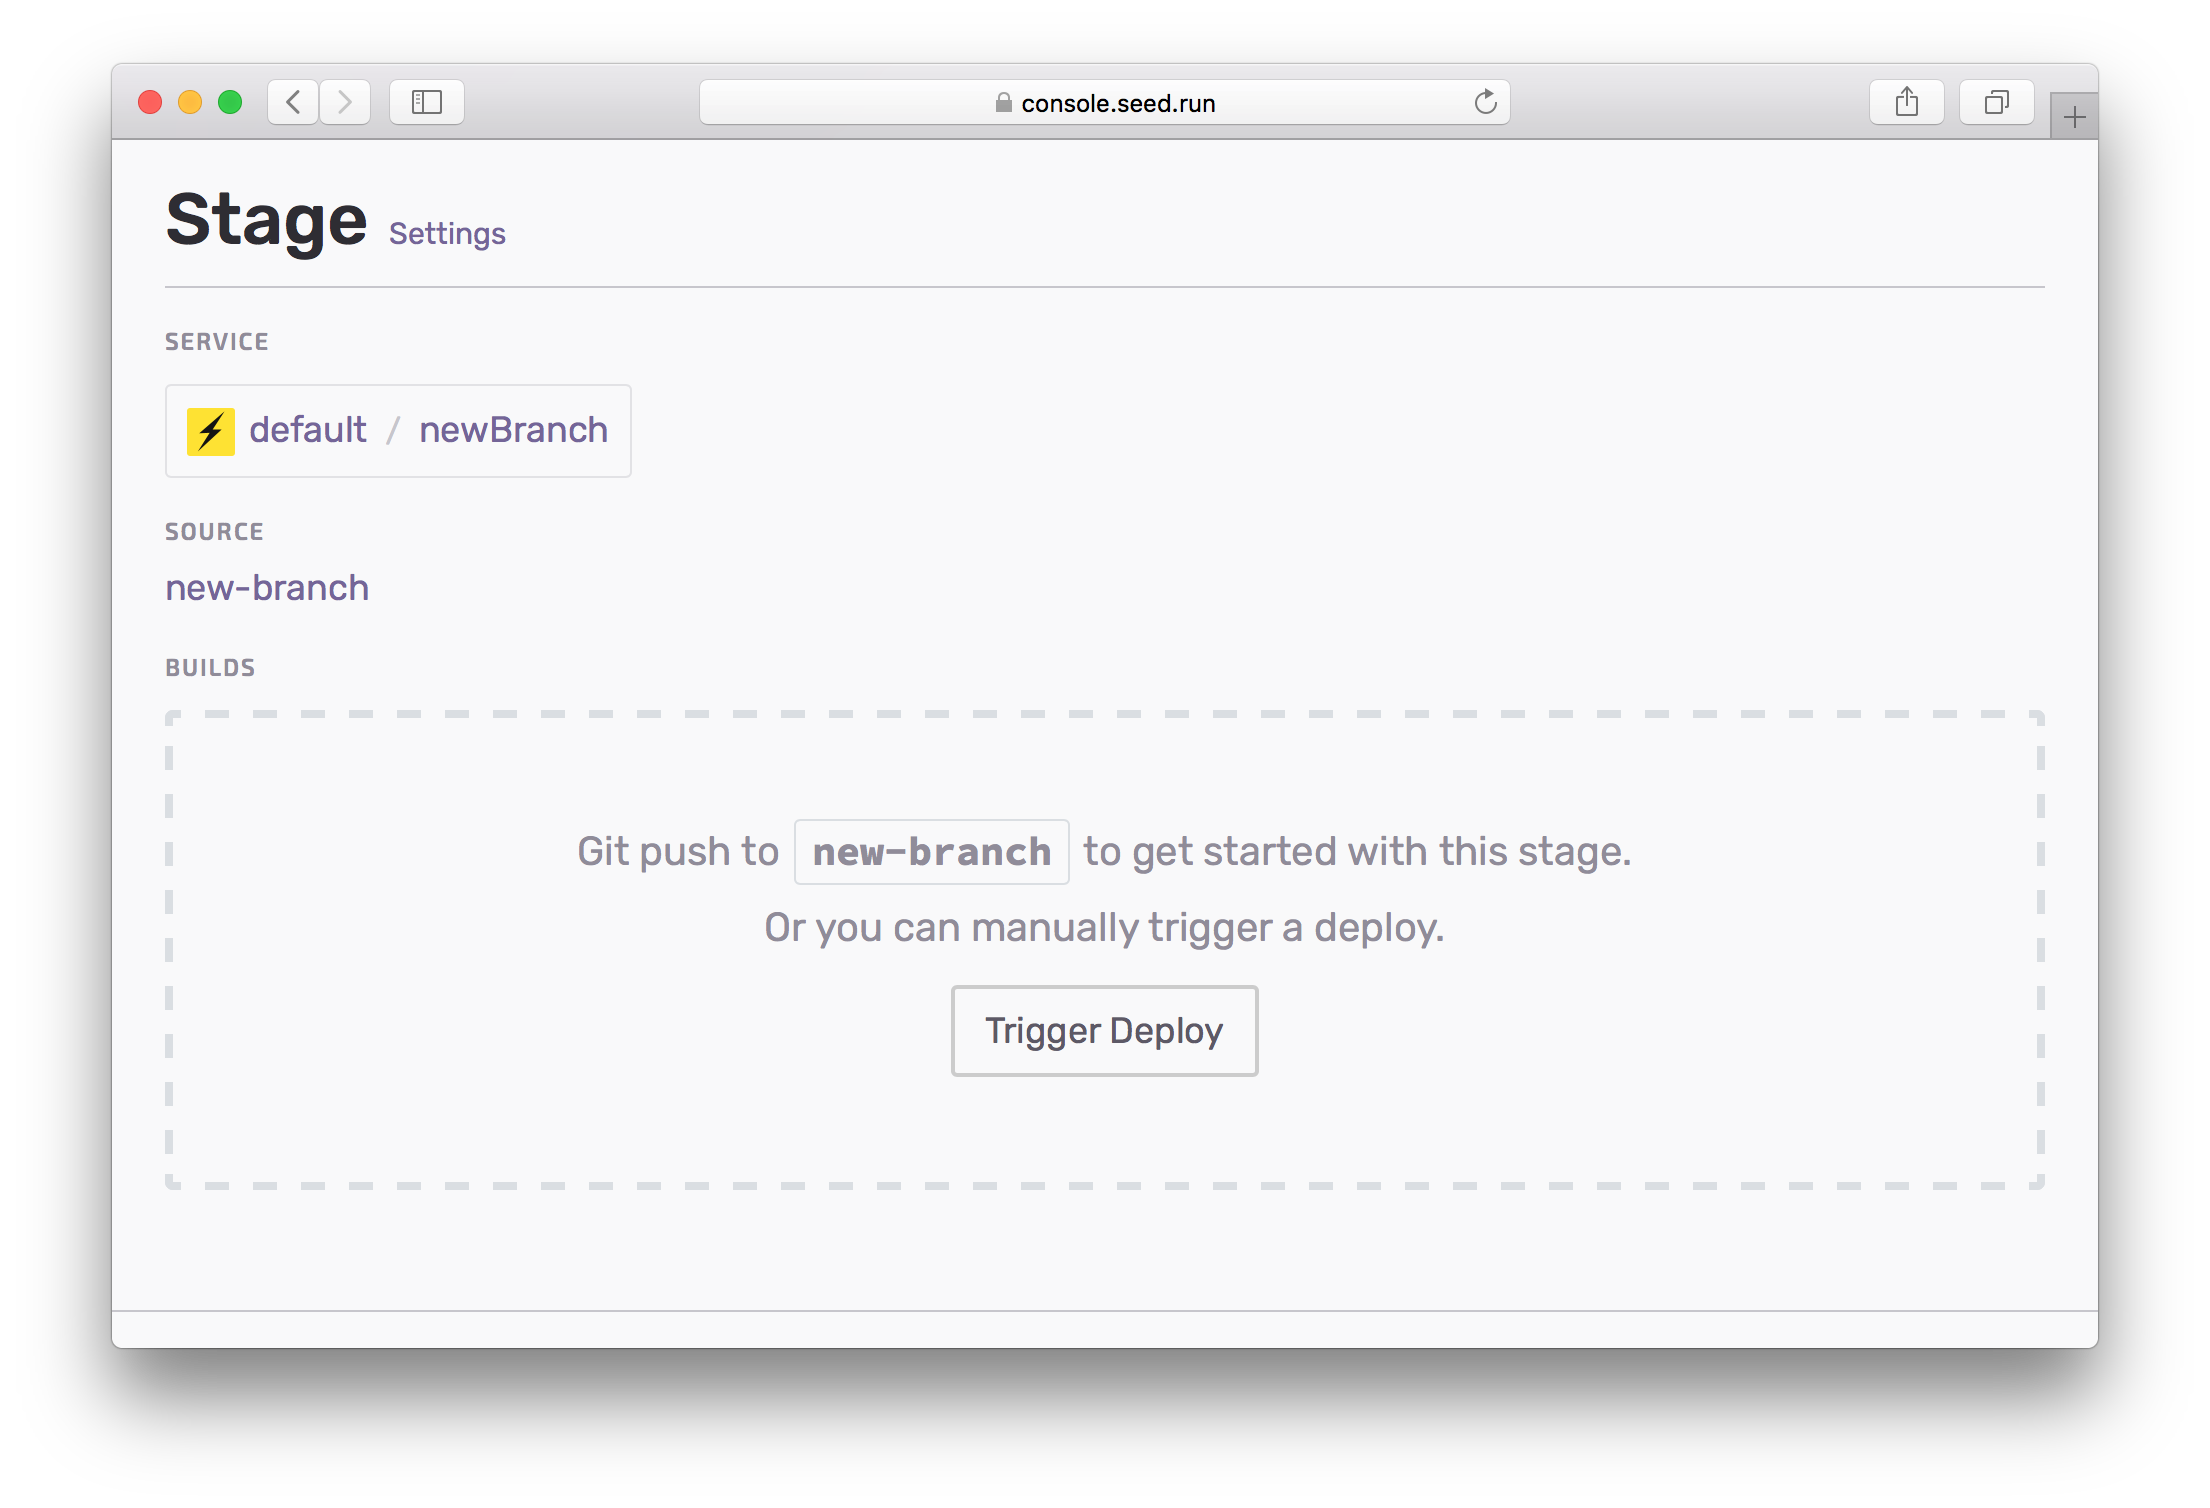
If the build is successful and tests pass, the service gets deployed to this stage. At the same time, a verified build is packaged for production. You can read more about this in the Promoting to production chapter.
Once a stage has been added, Seed will automatically create a new build when you git push to the update the remote branch.
If you have any questions or feedback feel free to contact us via email.